You don’t need a farm to raise chickens. Many people keep small backyard flocks to save money, produce their own eggs, and know exactly where their food comes from. To get started, you’ll need the basics: food, water, shelter—and if you plan to breed—at least one rooster.
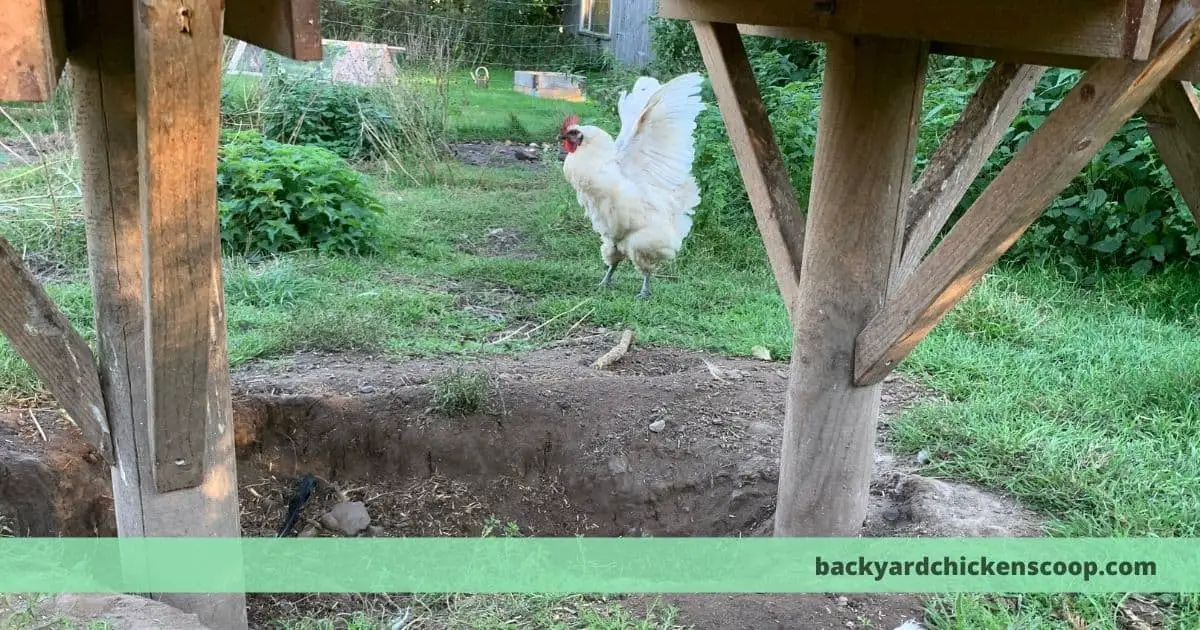
Once your chickens are home, the top priority is keeping them safe. You may build a secure pen to protect them from predators or family pets, only to discover another challenge: chickens can fly. It doesn’t take long before one proves the old saying true and “flies the coop.”
Why Chickens Fly the Coop
Chickens instinctively roost in high places. That urge to seek height can lead them over fences and out of their safe pen, exposing them to predators, harsh weather, or even traffic. Escaped birds can also wreak havoc on gardens or neighbors’ property. For their safety and your peace of mind, wing clipping is often the best solution.
What Is Wing Clipping?
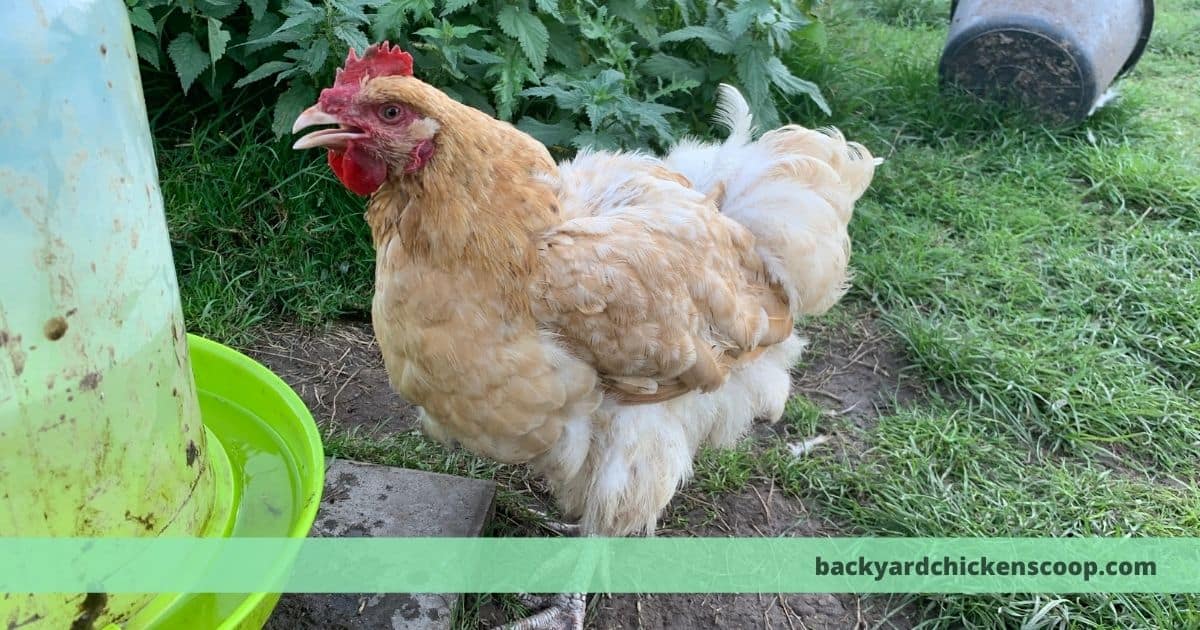
Wing clipping is a simple, painless way to prevent chickens from flying. By trimming their primary flight feathers, you disrupt their ability to gain enough lift for flight while leaving them fully capable of scratching, foraging, dust bathing, and doing all their normal ground activities.
Done properly, clipping does not harm the bird. The only challenge is catching and holding the chicken while you trim.
Step-by-Step: How to Clip a Chicken’s Wings
1. Catching and Holding the Chicken
You’ll need a sharp pair of scissors and a secure grip. There are two common methods:
- Upside-down hold: Grasp both feet in one hand and gently hold the chicken upside down. After a few seconds of flapping, most chickens relax and hang limply, allowing their wings to fall open.
- Football hold: Tuck the chicken under your arm like a football. Use the arm holding the bird to extend one wing, leaving your free hand available for trimming.
2. Identifying the Flight Feathers
Look for the long outer feathers—the primary flight feathers. These are the ones to trim. Never cut new feathers that still have a reddish-brown shaft (called “blood feathers”) since they contain a live blood supply. Wait until the shaft appears white or clear.
3. Trimming the Feathers
Cut the flight feathers on one wing about halfway down their length. Trimming just one wing is usually enough, making the chicken “lopsided” and unable to gain lift. Some keepers prefer trimming both wings for balance, but either method is effective.
4. Repeat for the Flock
Once you’ve clipped one bird, continue with the rest of the flock. After molting, new feathers will grow in, so you’ll need to repeat the process periodically.
Tips for Safer Wing Clipping
- Work with a partner. Having one person hold the chicken while another trims makes the job easier, especially the first time.
- Clip gradually. Start with four flight feathers per wing. Let the bird attempt a short flight. If it still flies upward, trim one more feather at a time until it can only glide down safely.
- Avoid over-trimming. Never remove every flight feather—your chicken still needs to land safely.
Post-Clipping Care
After clipping, observe your chickens closely for a few days. Make sure they are adapting well and not injuring themselves when attempting to fly. Some chickens never attempt to escape again after the first trim, while others may continue testing the fence line—those birds will need regular follow-ups.
Why Wing Clipping Matters
- Prevents escapes: Keeps chickens safely inside their enclosure.
- Reduces risk: Protects them from predators, cars, and injuries from crash landings.
- Protects gardens: Stops them from wandering into places they don’t belong.
- Maintains harmony: Avoids conflicts with neighbors and keeps your flock under control.